Chocolate Heart Cake Valentine's Day Desserts
Joanne has been baking professionally for 25 years. A talented recipe and product developer, she has crafted desserts for hotels, restaurants, and gourmet grocers across the world. Joanne developed Cookie Chips® Baking Mixes for bakers who wants professional results at home using the same high-quality ingredients she uses in her professional kitchen.
Subscribe
To join our mailing list and never miss a recipe!
The Joy of Valentine's Day Recipes
Valentine's Day is here and all that is filled with joy, happiness, and fun! From romantic dates, and special dinners together, to gift exchanges, flowers, chocolates, or jewelry, there are so many ways we show our love and affection for one another. If you’re reading this recipe article, chances are you’re planning to show your affection through your baking talents. Me too!! This year let’s create something truly special, delicious, and different.
Valentine's Day has its roots in ancient Rome, where a festival called Lupercalia was celebrated in mid-February. This festival was dedicated to the Roman god of fertility, and young men would draw the names of women from a box as a form of matchmaking. Over time, the festival evolved and became associated with Saint Valentine, a 3rd-century Roman martyr who was executed for secretly marrying couples during a time when marriage was forbidden.
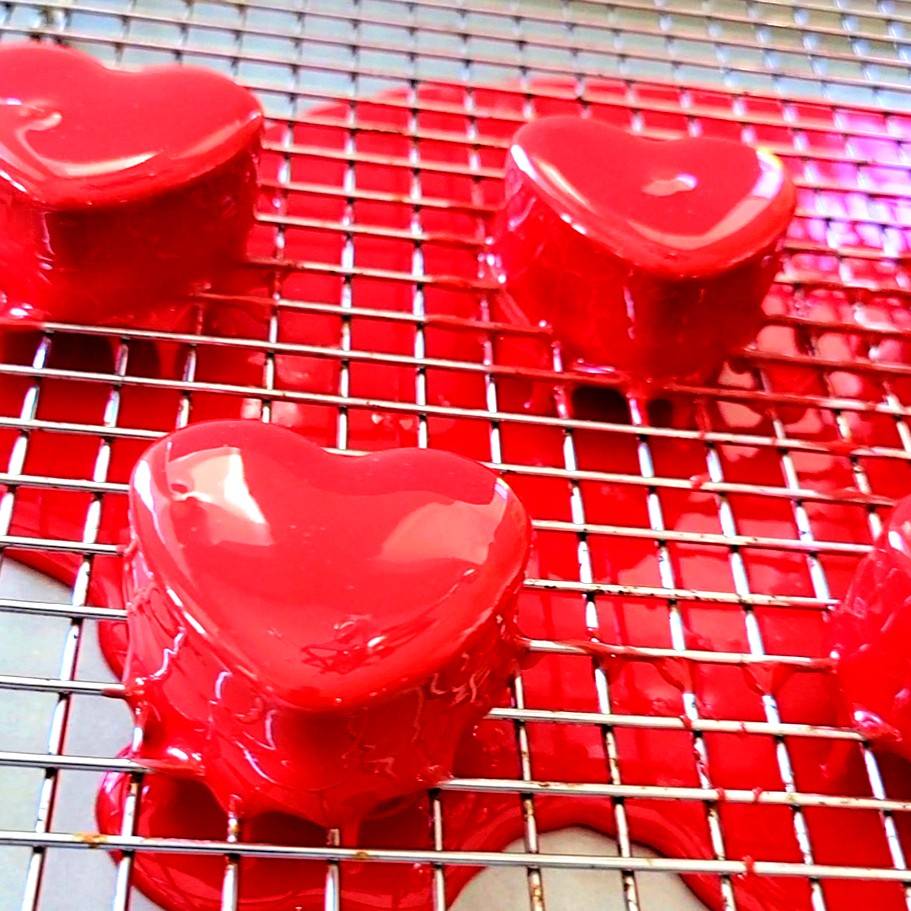
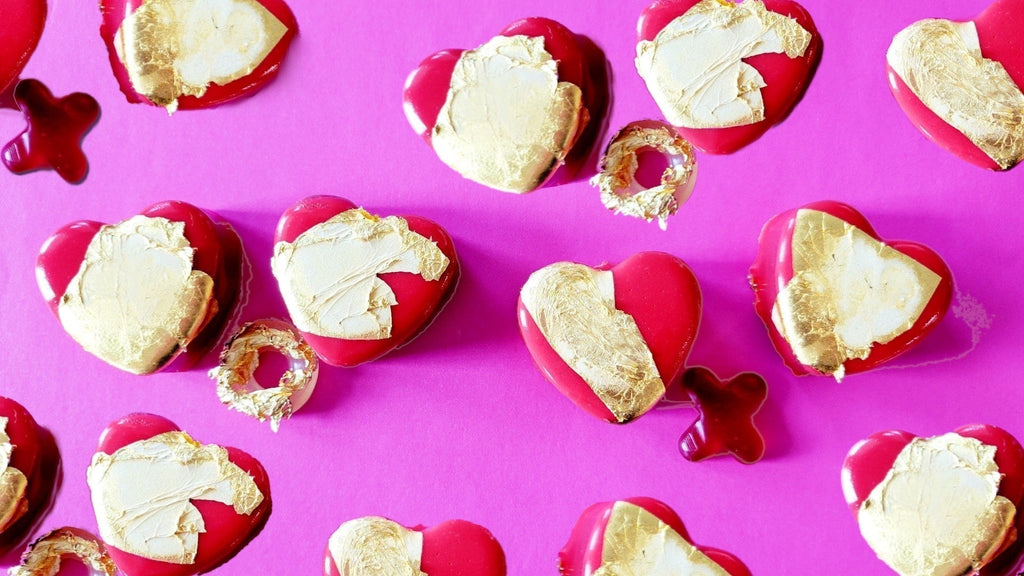
The red white chocolate glaze makes these chocolate cakes irresistible! 💖
As the holiday evolved, it became a day to express love and affection, and gifts were exchanged between loved ones. Flowers, cards, and candy became popular gifts. Personally, baking is my favorite way to creatively express my love and affection for the important people in my life. If you’re baking for your significant other, a family member, or a friend this Valentine's Day, the thought and effort that goes into making your homemade treats means so much to them. Perhaps more than you realize.
From the heart-shaped chocolate peanut butter crunch cakes we’re going to make in this article, to cookie bark, gift baskets, and more, the possibilities for Valentine's Day desserts are endless. I find that homemade treats are some of the best Valentine's gifts to give because they’re truly thoughtful and can be appreciated by anyone.
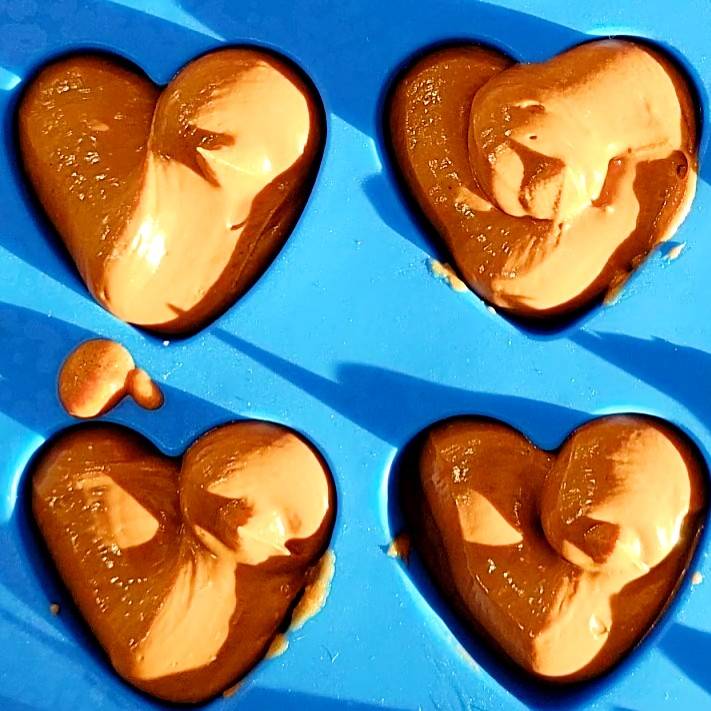
The dark chocolate cremeux filling adds a dimension of creaminess that complements the Cookie Chips® crunch bottoms.
Baking These Valentine's Day Treats
These cute Valentines Day desserts were so much fun to make, and even more fun to bite into. Enjoy 😊
Valentine’s Day Chocolate Heart Cakes
Ingredients
Cookie Chips® Crunch
Dark Chocolate Cremeux Filling
Red Glaze
Recipe
Cookie Chips® Crunch
- In a microwave safe bowl, melt milk chocolate with coconut oil. Mix chocolate at 30 second intervals until fully melted and mix until coconut oil is completely incorporated. Or, bring a pot of water to a boil. Lower to a simmer and place a bowl with the chocolate and coconut oil over top. Make sure the bottom of the bowl does not touch the water. Stir until fully melted.
- In a food processor, grind Cookie Chips®.
- Add ground Cookie Chips® to milk chocolate and blend in well.
Dark Chocolate Cremeux Filling
- In a small saucepan, bring cream and milk to a boil.
- In a bowl whisk together egg yolk and sugar.
- Pour some of the hot milk over the egg and whisk immediately. Pour this back into the pot with milk. Cook this mixture on low until it reaches 183 F.
- Place your dark chocolate into a separate bowl and pour hot liquid mixture over whisking smooth. If you have an immersion blender, you can use this to blend.
- Cover top of the Cremeux with plastic wrap and refrigerate at least 4 hours until firm.
Red Glaze
- Bloom the powdered gelatin: Put the cold water in a small bowl. Sprinkle the powdered gelatin over the water. Quickly stir using a small whisk or fork until it starts to thicken. Set aside and let it sit to fully gel, about 5 minutes.
- Meanwhile, whisk together the condensed milk, warm water, and sugar in a small pot. Bring to a simmer over medium-high heat.
- Once the mixture reaches a simmer, turn off the heat and whisk in the bloomed gelatin until fully dissolved and no clumps remain.
- Let the mixture sit for 2 minutes, then whisk together until smooth. Whisk in the vanilla extract, if using.
- Place the white chocolate in a bowl. Pour the hot liquid mixture through a fine mesh sieve over the chocolate.
- Completely submerge the immersion blender into the glaze and blend without raising above the glaze to prevent air bubbles from forming. If using food color, add a couple drops at a time until desired color is reached. Blend thoroughly. If you don’t have an immersion blender just use a whisk.
- Transfer the glaze into any type of pouring vessel like a heat-proof quart container or heat-proof liquid measuring cup. Let it sit, giving it a stir every 5 minutes until the glaze reaches 90 to 94 F on an instant read thermometer.
Putting It All Together
- 1. In a silicone mini heart mold, spoon in the milk chocolate cookie crunch halfway into each mold. Freeze to set.
- Using a piping bag, pipe in the chocolate Cremeux as shown in the video. Using an offset spatula, spread the Cremeux so it fully fills each mold. Scrape off excess and freeze to set.
- Remove each heart from the mold and place on a parchment paper lined sheet pan. Keep in the freezer.
- Make your glaze. While the glaze is cooling, set up your glazing station.
- Place a drip rack on top of a sheet pan. When you glaze is ready, pour it into a large cup or measuring cup with a spout.
- Place frozen chocolate heart cakes on the glazing rack spacing well apart.
- Pour glaze over each cake by drizzling first on the edges then in the center. Allow glaze to completely drip off the cakes.
- Using an offset spatula, remove cake from the glazing rack. If the glaze is still dripping, use your finger to wipe off excess glaze. Place cakes on a parchment lined baking sheet and place in the freezer.
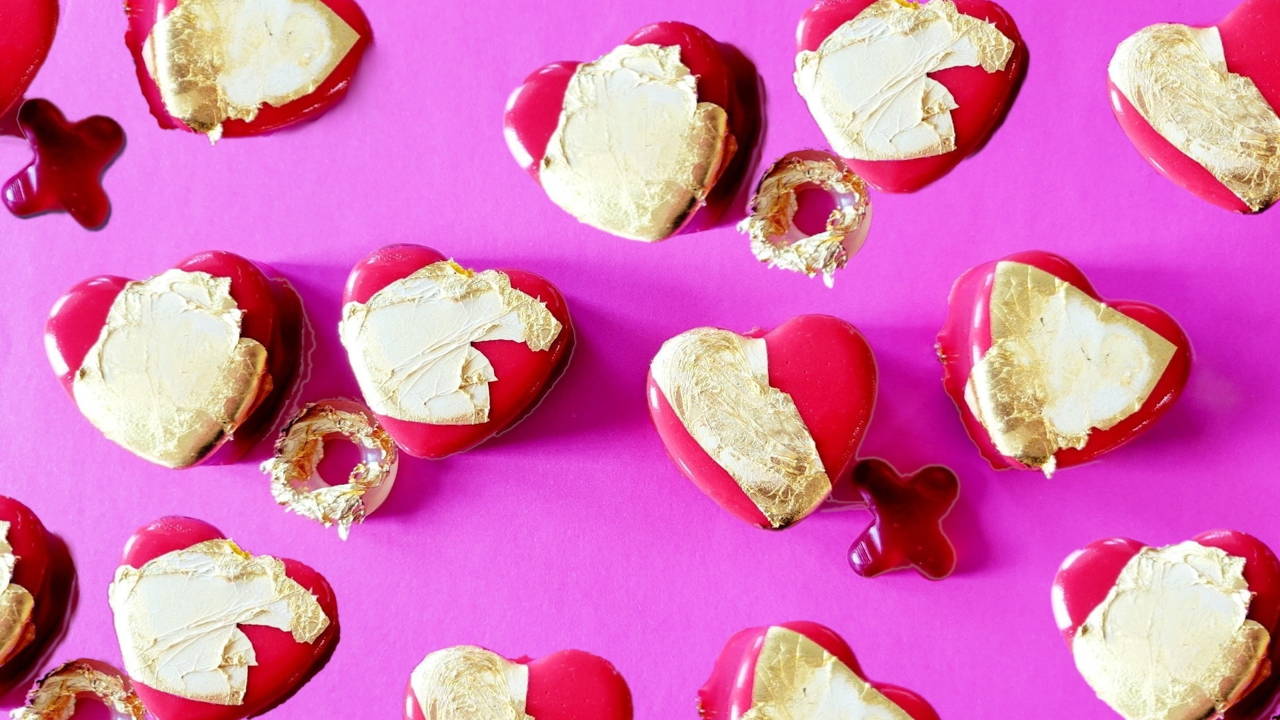
- If you want to decorate with gold leaf, carefully remove gold from the book with the tip of a knife and place it over top of each cake. Lightly blow on the gold to get it to fully adhere.
- Keep cakes in the freezer until ready to eat.
The Best Recipes


